Installing a parcel box is one of the best ways to protect your deliveries from theft and weather. But many homeowners often ask: “How do I install a parcel box correctly?”
The process is simple, but it depends on the type of parcel box you choose—freestanding, wall-mounted, or embedded. Here’s a complete guide to help you set it up safely and securely.
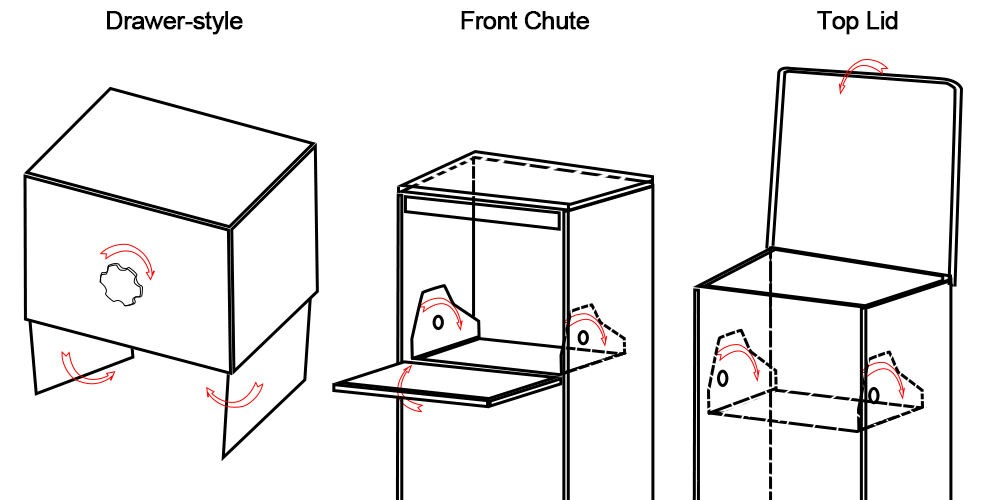
| Opening Mechanism | Freestanding Installation | Wall-Mounted Installation | Embedded Installation | Security Level |
| Drawer Opening | Yes | Yes | Yes | Highest |
| Front Door Opening | Yes | Yes | Yes | High |
| Top Opening | Yes | Yes | No | High |

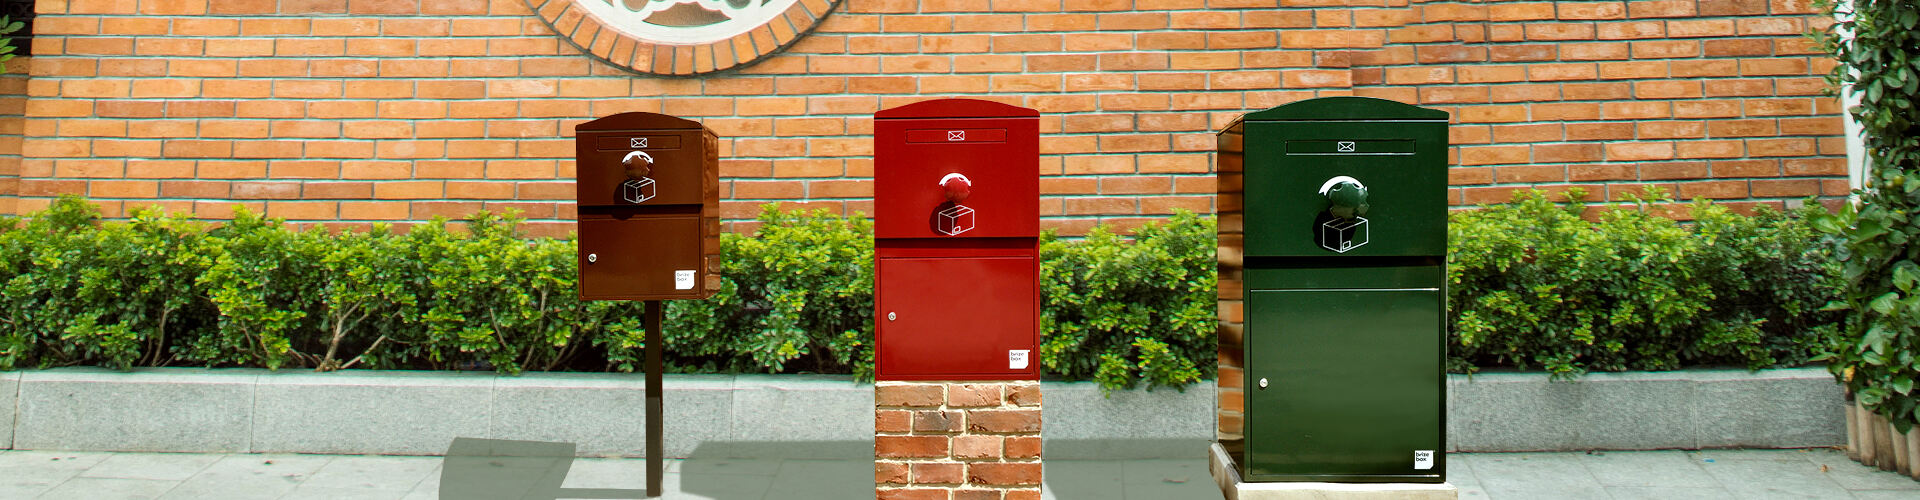
Before installation, decide where the parcel box will go. The best spots are:
Front porch – Highly visible and convenient for delivery drivers.
Front yard or driveway – Easy access without obstructing entryways.
Fence or wall – Perfect for embedded models that blend with property design.
💡 Pro Tip: You can also pair your parcel box with a stainless steel house number plate to make your address more visible to couriers.
Parcel boxes are generally installed in three common ways:

Place the parcel box in the desired position.
Open the door and locate the mounting holes at the base or back.
Use a pencil or marker to mark hole positions on the ground or wall.
Move the box aside, then drill holes with a hammer drill.
Insert the expansion bolts (provided with the box) into the holes and hammer them in.
Remove the top nuts and washers, place the box back in position, align with bolts, then tighten the nuts until secure.
This ensures the parcel box stays stable and resistant to theft or bad weather.

Suitable for smaller parcel boxes.
Mark the mounting points on the wall.
Drill holes, insert expansion bolts, then attach the parcel box directly to the wall.
Double-check the alignment so the box hangs evenly.
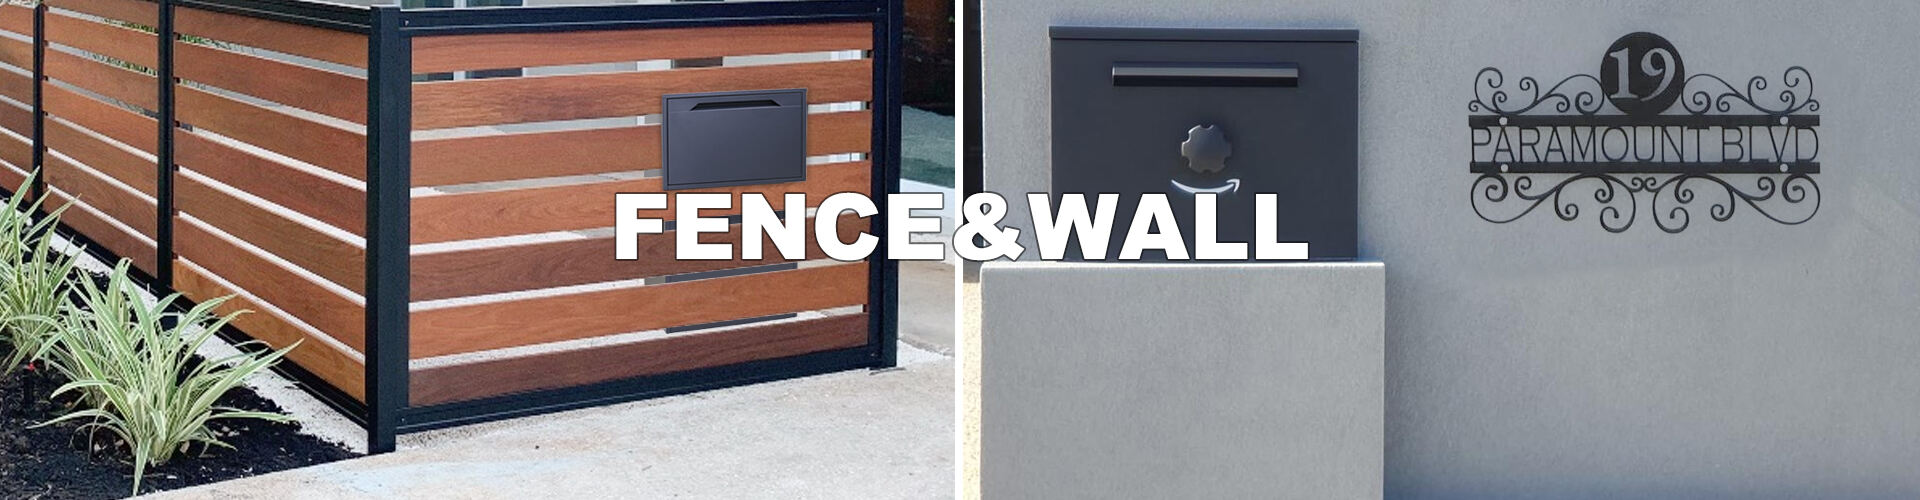
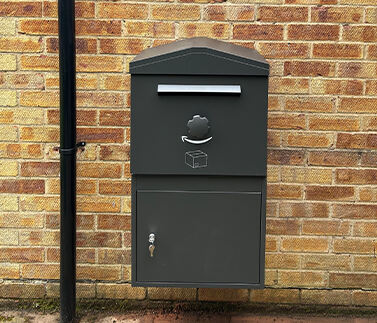
Embedded parcel boxes are designed to fit through walls or fences.
Pre-cut an opening in the wall or fence that matches the box size.
Insert the box and secure it using screws (for fences) or cement (for brick walls).
Seal edges to ensure weatherproofing.
⚠️ Since this method requires cutting and masonry work, we recommend hiring a professional installer.
For properties without concrete or wall space, parcel boxes can still be installed securely:
Use a ground post or installation base.
Dig a hole in the soil large enough for the base.
Place the base into the hole, then fill it with soil or cement for stability.
Attach the parcel box to the base, ensuring it is level.
This method is especially popular in gardens, rural homes, or areas with soft ground.
Installing a parcel box is straightforward once you choose the right type and installation method. Whether it’s freestanding with expansion bolts, wall-mounted with screws, or embedded in fences and walls, each method ensures your parcel box is secure, stable, and ready to protect your deliveries.
👉 At JDY, our parcel boxes are designed with pre-drilled mounting holes, weatherproof coatings, and flexible installation options. Whether you’re in the city or the countryside, we provide everything you need to keep your packages safe.
 Hot News
2025-11-10
2015-06-01
2025-06-07
2025-03-31
2025-08-30
2025-08-11

We are a leading manufacturer of parcel delivery boxes in China. With our in-house powder coating lines, our parcel boxes are guaranteed to withstand outdoor conditions for 10 years.
1st Road, DongNan Industrial Zone 2, WuYi Road, JiangHai District, Jiangmen City, Guangdong Province, China.
Copyright © JDY Hardware CO., LTD All Rights Reserved | Privacy Policy | Blog